
PC upgrade guide
How to Install a GPU
Installing a graphics card is one of the most approachable desktop PC upgrades when you prepare properly. The process is simple: power down, confirm clearance, prepare the PCIe slot, seat the GPU fully, secure the bracket, connect the correct power leads, reconnect the display and install the driver.
Do not force the card or a power connector. If something does not seat naturally, stop and recheck alignment.
Quick answer
How to install a graphics card in eight steps
- Shut down the PC, switch the PSU off and unplug the power cable.
- Open the case and identify the main PCIe x16 slot.
- Remove the required rear expansion-slot covers.
- Open the PCIe retention latch if your motherboard uses one.
- Align the GPU and press it straight into the slot until fully seated.
- Secure the GPU bracket to the case.
- Connect the correct PCIe or GPU power cable required by the card.
- Reconnect the monitor to the GPU, start the PC and install the correct driver.
Visual installation overview
See the hardware before you start
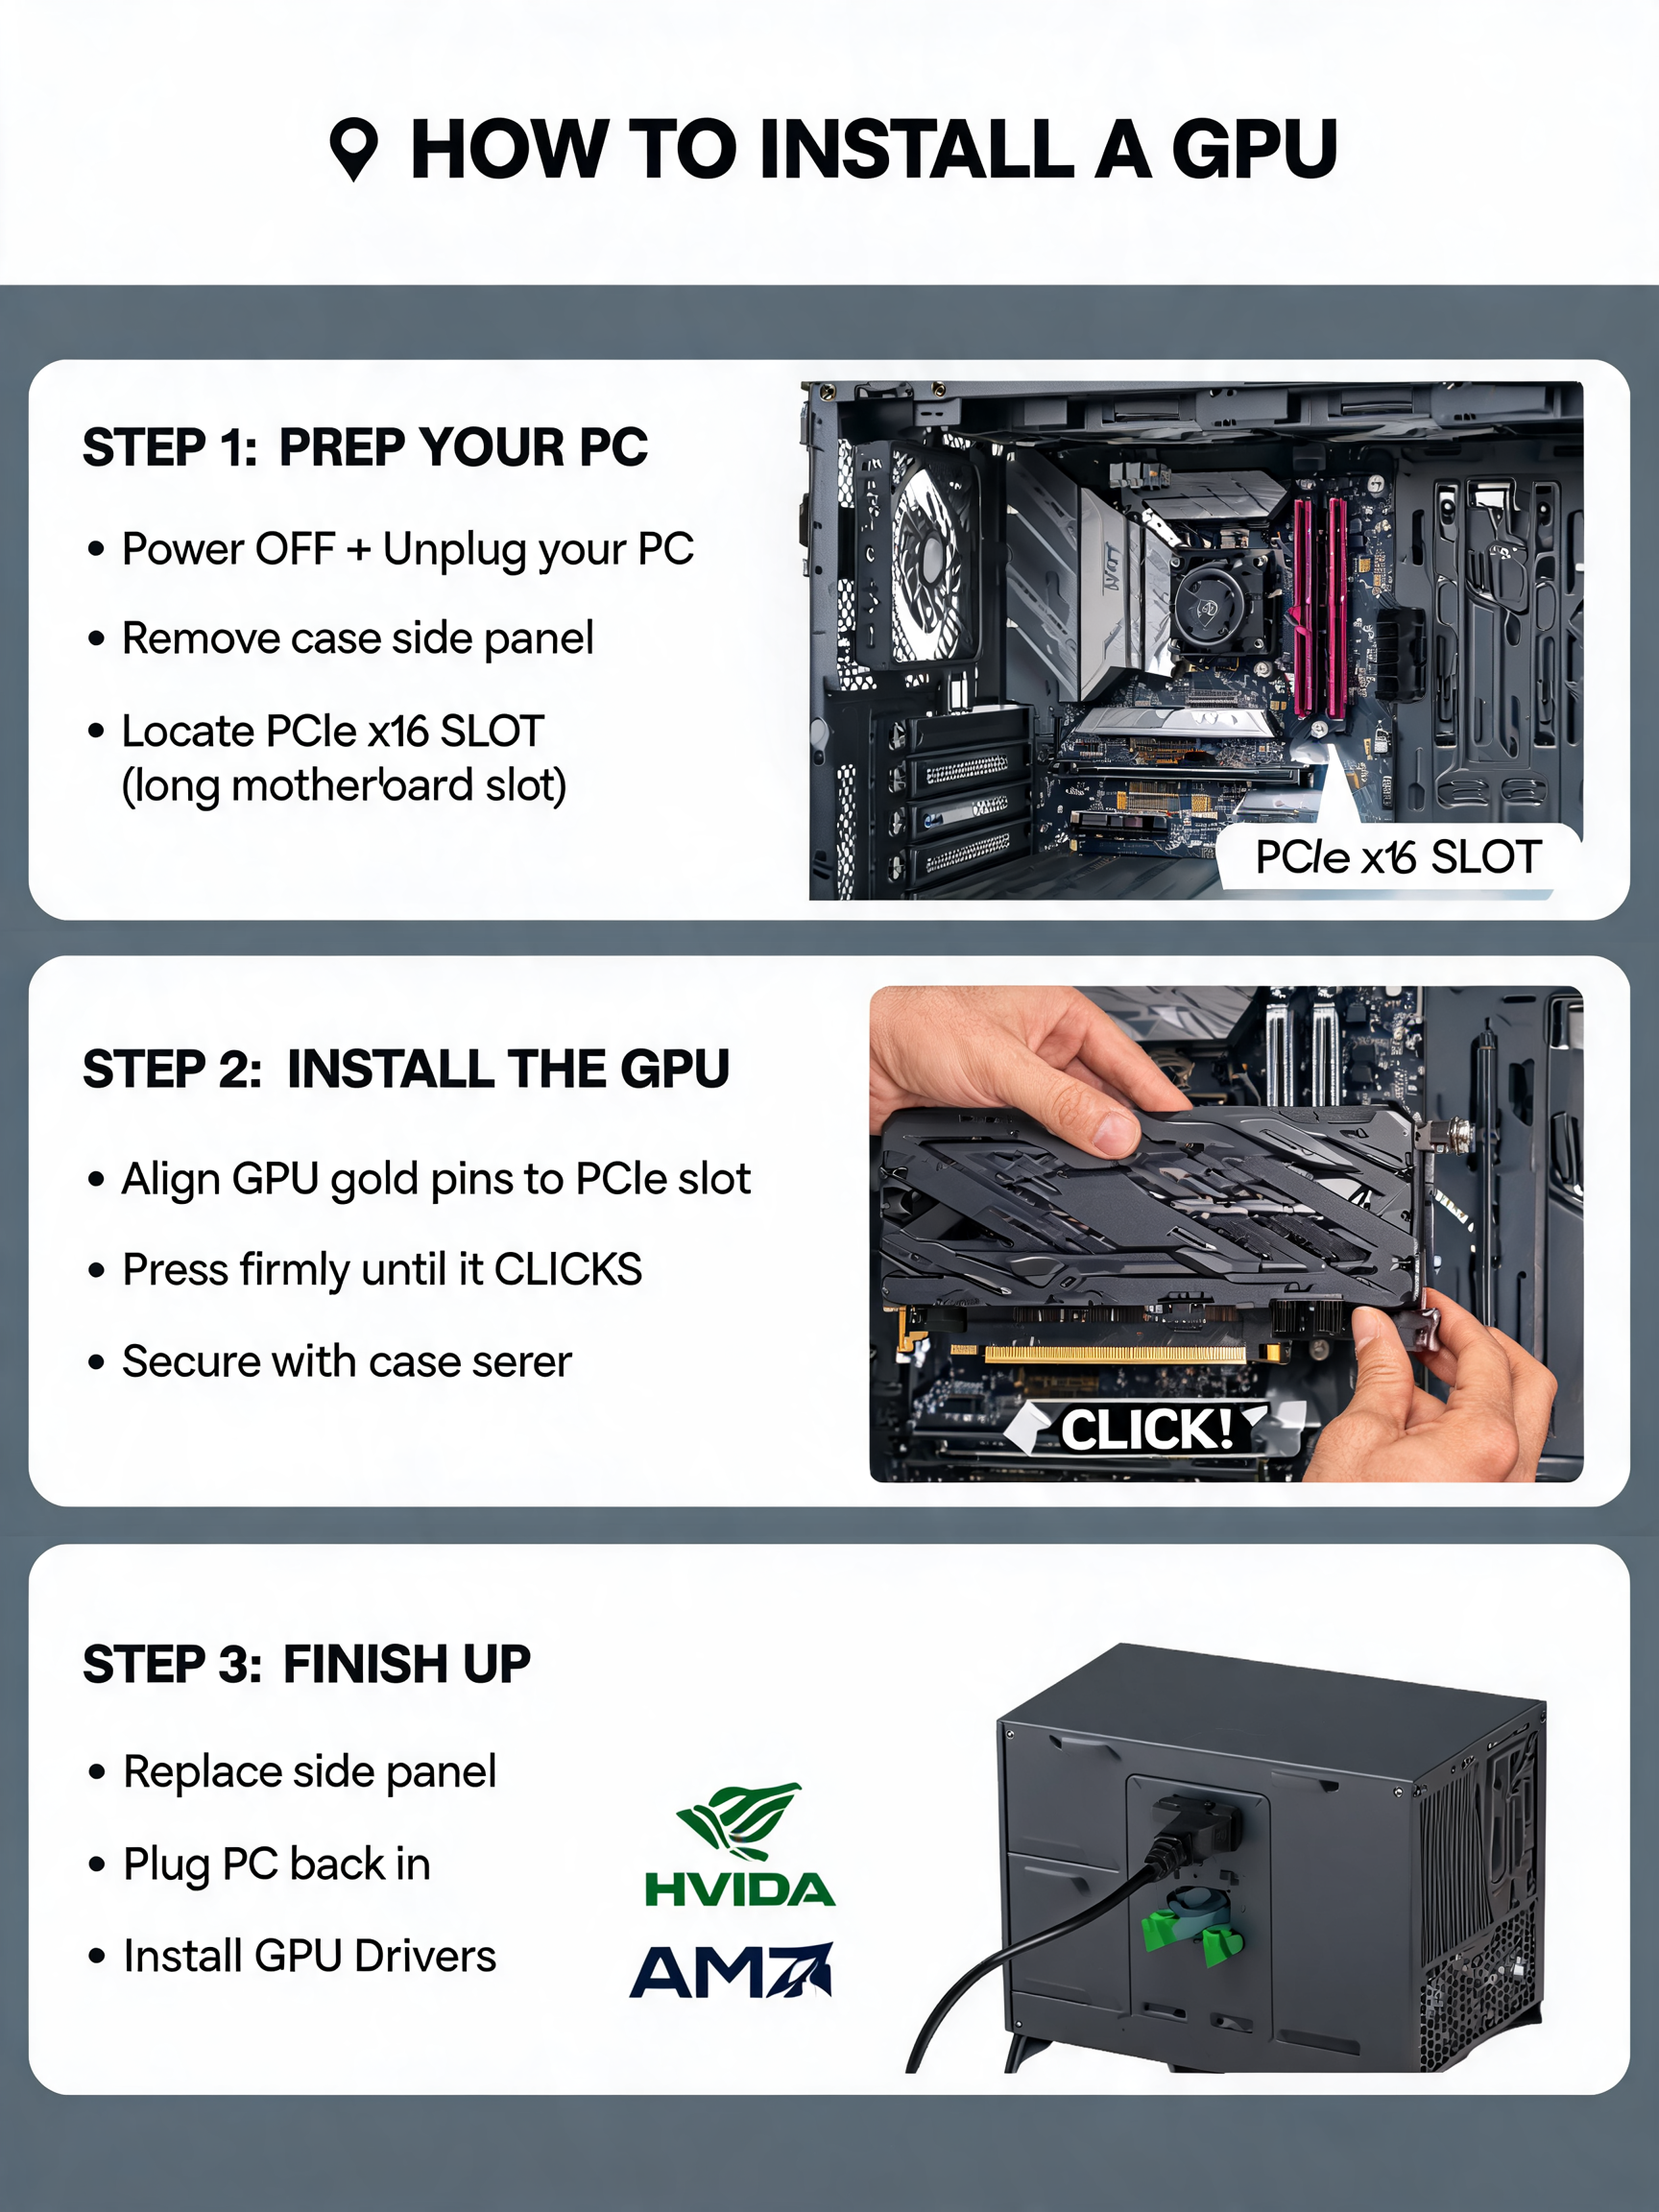
Before touching the slot
Use the image to orient yourself inside the case
Identify the graphics card area, the rear expansion slots and the route your GPU power cable will take. The exact layout varies by case and motherboard, but the installation sequence stays the same.
Then use the compatibility calculator below to confirm that the card length and thickness make sense for your case.
Check case clearanceBefore opening the case
What you need
🪛
Phillips screwdriver
Most cases use standard Phillips screws for expansion-slot brackets and side panels.
📏
Clearance measurements
Know the GPU length and the case's maximum graphics-card clearance before installation day.
🔌
Correct PSU cables
Use the GPU power leads intended for your specific power supply and graphics card.
🧼
Clean workspace
Use a stable table with good light. Avoid carpet and keep loose screws away from the motherboard.
Interactive pre-install check
Will the GPU physically fit your case?
Enter the card length and the case's listed maximum GPU clearance. The graph updates when you calculate.
Also confirm adjacent-slot space and front radiator or drive-cage interference.
Clearance resultLength marginWaiting for inputs Thickness reminder3-slot selected
Check your measurements
The calculator shows your length margin and flags tight installations.
Watch the installation
GPU installation video
Watch the full process once before you begin, then keep the step-by-step guide open beside you while you work through the installation.
The player includes play, pause, volume, timeline and fullscreen controls.
How to install a GPU video guide.
Step-by-step installation
Install the GPU carefully, not aggressively
1
Shut down, switch off and unplug the PC
Shut the operating system down normally. Switch the PSU off at the rear if it has a switch, then unplug the AC cable. Pressing the case power button once after unplugging can help discharge some remaining energy in the system.
Move the case onto a stable table. Remove the side panel and place screws somewhere safe.
2
Locate the main PCIe x16 slot
The main graphics-card slot is typically the long PCIe slot closest to the CPU socket. On many motherboards, that slot is reinforced and intended for a primary GPU.
If the motherboard manual specifies a particular slot for a single GPU, follow that guidance.
3
Remove the rear expansion-slot covers
Hold the GPU beside the case to see how many slot covers must be removed. A thick card may occupy two, three or more rear slots even though its electrical connector uses one motherboard slot.
Remove only the covers you need and keep the screws for the GPU bracket.
4
Open the PCIe retention latch
Many motherboards use a small plastic retention latch at the end of the PCIe slot. Make sure it is open before inserting the GPU. If access is awkward, use the motherboard manual rather than prying blindly around nearby components.
5
Align and seat the graphics card
Hold the card by its edges and cooler rather than touching the gold PCIe contacts. Align the rear bracket with the case opening and the gold connector with the PCIe slot.
Press the card down evenly until the connector is fully seated and the retention mechanism engages. A correctly installed GPU should sit level in the slot rather than visibly tilted or half-seated.

Stop if the card will not go in. Recheck the rear bracket, slot covers and retention latch. Forcing a misaligned card can damage the motherboard slot or GPU.
6
Secure the GPU to the case
Support the card with one hand while fastening the rear bracket screws. This keeps the card seated while you align the bracket and prevents unnecessary strain on the PCIe slot.
Large GPUs may benefit from a support bracket or anti-sag stand if the manufacturer or case provides one.
7
Connect the GPU power cable correctly
Some GPUs draw all required power from the PCIe slot, while others require one or more dedicated power connectors. Use the connector type specified for your graphics card and the cables intended for your PSU.
Make sure the connector is fully seated. For newer high-power connector designs, follow the GPU and PSU manufacturer's insertion and cable-routing guidance and avoid putting a sharp bend immediately against the plug.
Never mix modular PSU cables between different power supplies unless the PSU manufacturer explicitly confirms compatibility. The PSU-side pinout can differ even when the connector physically fits.
8
Close the case, connect the monitor to the GPU and boot
Reconnect the side panel, AC power and display cable. The monitor should normally connect to a video output on the graphics card itself, not the motherboard, when you want to use the dedicated GPU.
Start the PC. If you get a picture, install the appropriate graphics driver for the card.
Interactive installation tracker
Follow the install without losing your place
0%complete
PSU headroom calculator
Is your power supply large enough for the new GPU?
This is a planning estimator, not a substitute for the GPU manufacturer's PSU guidance.
Fans, drives, motherboard, pumps and USB devices.
Power graph
Enter your build values
The graph compares estimated system demand with PSU capacity and shows approximate headroom.
Avoid these mistakes
The failures that cause most installation headaches
After installing a dedicated GPU, connect the monitor to one of the GPU's display outputs.
A half-seated card may power lights or fans while still failing to initialise correctly.
Modular PSU cables are not universally interchangeable. Use cables intended for your PSU model.
If the latch is difficult to reach, stop and use the motherboard manual rather than prying blindly.
Length is only one dimension. Very thick cards can block adjacent slots or collide with case hardware.
A large GPU can sag. A properly installed support bracket can reduce long-term mechanical strain.
What should happen on the first boot?
The PC should complete its normal startup process and the monitor should receive a signal from the new graphics card. Fan behaviour varies by GPU. Some cards do not keep their fans spinning at low temperature, so a stationary fan at the desktop is not automatically a fault.
Once the operating system loads, install the appropriate graphics driver. The display may briefly flicker or change resolution during driver installation.
What if the PC turns on but there is no display?
Start with the simplest checks. Confirm the monitor is connected to the graphics card, not the motherboard. Confirm the GPU is fully seated and that every required GPU power connector is fully inserted.
If the motherboard has diagnostic LEDs or a POST code display, use those indicators. Recheck the PCIe slot latch and bracket alignment if the card looks even slightly raised at one end.
Fast troubleshooting order: display cable → GPU power → PCIe seating → monitor input → driver or firmware → known-good hardware test.
The GPU fans are not spinning. Is that bad?
Not necessarily. Many graphics cards stop their fans at idle or low temperature. If you have video output and the GPU is recognised correctly, fan-stop behaviour can be normal.
The better test is whether the fans operate as expected when the GPU warms under a workload while temperatures remain normal for that model.
Do you need to remove old GPU drivers?
If you are replacing one GPU with another from the same vendor, updating to the appropriate current driver may be enough. If you are changing vendors or troubleshooting unstable software behaviour, a clean driver installation can be useful.
A driver problem is different from a hardware seating problem. If the system cannot POST or show firmware output, focus on installation and power before Windows software.
Do you need to change BIOS settings?
Most normal single-GPU installations do not require manual firmware changes. The motherboard should detect the card automatically. BIOS options become more relevant when troubleshooting unusual compatibility situations, using multiple GPUs or enabling specific platform features.
What about GPU power connectors?
Graphics-card power connectors vary by card and generation. The installation principle is always the same: use the connector specified by the GPU manufacturer, supplied or approved adapters where required, and PSU cables that are correct for the power supply.
Fully seat the plug and route the cable so the connector is not under unnecessary sideways pressure.
Do you need an anti-static wrist strap?
An ESD wrist strap is useful when it is connected correctly to a proper grounding point, but careful handling can also reduce static risk. Work on a hard surface, avoid carpet, handle the GPU by its edges and cooler, and touch the bare metal chassis periodically before handling components.
Is GPU sag dangerous?
A small visual droop does not automatically mean immediate danger, but very heavy cards can put mechanical load on the PCIe slot and bracket over time. If your GPU or case includes a support bracket, using it is sensible.
What should you verify after the driver is installed?
- The GPU appears correctly in the operating system and driver software.
- The monitor is running at the intended resolution and refresh rate.
- Temperatures and fan behaviour look normal under load.
- The system is stable in games or workloads.
- The card is not rubbing against a cable or case panel.
- Power connectors remain fully seated.
Should you benchmark after installing the GPU?
A short benchmark or demanding game can confirm that the card is operating normally, but you do not need to chase a particular score immediately. The first goal is stability, normal temperatures and expected performance for your system.
Use the GPU Benchmarks Hub and GPU Benchmark Hierarchy for broader performance context.
Keep the GPU box and purchase documents
Do not throw away the invoice, serial-number details or useful packaging as soon as the card works. If a fault appears later, documentation and proper packaging can make the support process much easier.
See GPU Warranty Australia for the ownership and support side.
Installing a card is easier when you chose the right one first
Physical compatibility, PSU capacity and connector requirements should ideally be checked before the GPU is ordered. If you are still deciding which card to buy, use the GPU Guides Hub, GPU Comparison Centre and Where to Buy a GPU in Australia.
Final installation checklist
- PC powered down, switched off and unplugged.
- Correct PCIe x16 slot identified.
- Enough rear case slots opened.
- GPU seated fully and evenly.
- Retention latch engaged where applicable.
- Rear bracket screws tightened.
- Support bracket installed if required.
- Correct GPU power cable fully connected.
- Monitor connected to the GPU.
- Driver installed and system tested.
If all ten points are correct and the system is stable, the installation is complete.
GPU installation questions
Frequently asked questions
Can a beginner install a GPU?
Yes. A GPU installation is usually beginner-friendly if you power down properly, confirm compatibility first and avoid forcing the card or power connectors.
Which PCIe slot should I use for a graphics card?
For a normal single-GPU build, use the primary PCIe x16 slot specified by the motherboard manufacturer. It is commonly the long slot closest to the CPU.
Where should I connect my monitor after installing the GPU?
Connect it to a display output on the graphics card itself when you want to use the dedicated GPU.
Why does my GPU light up but show no display?
Lighting only proves that some power is reaching the card. Recheck PCIe seating, required GPU power connectors, the display cable location and monitor input.
Can I reuse modular PSU cables from another power supply?
Do not assume so. PSU-side pinouts can differ. Use the cables intended for your PSU unless the manufacturer explicitly confirms compatibility.
Do I need to install drivers before fitting the GPU?
Usually no. Install the hardware first, boot the system, then install the correct driver.
Installation complete
Now verify performance instead of guessing
Once the GPU is stable and the driver is installed, use MyGPU's benchmark guides to confirm the performance tier you should expect.