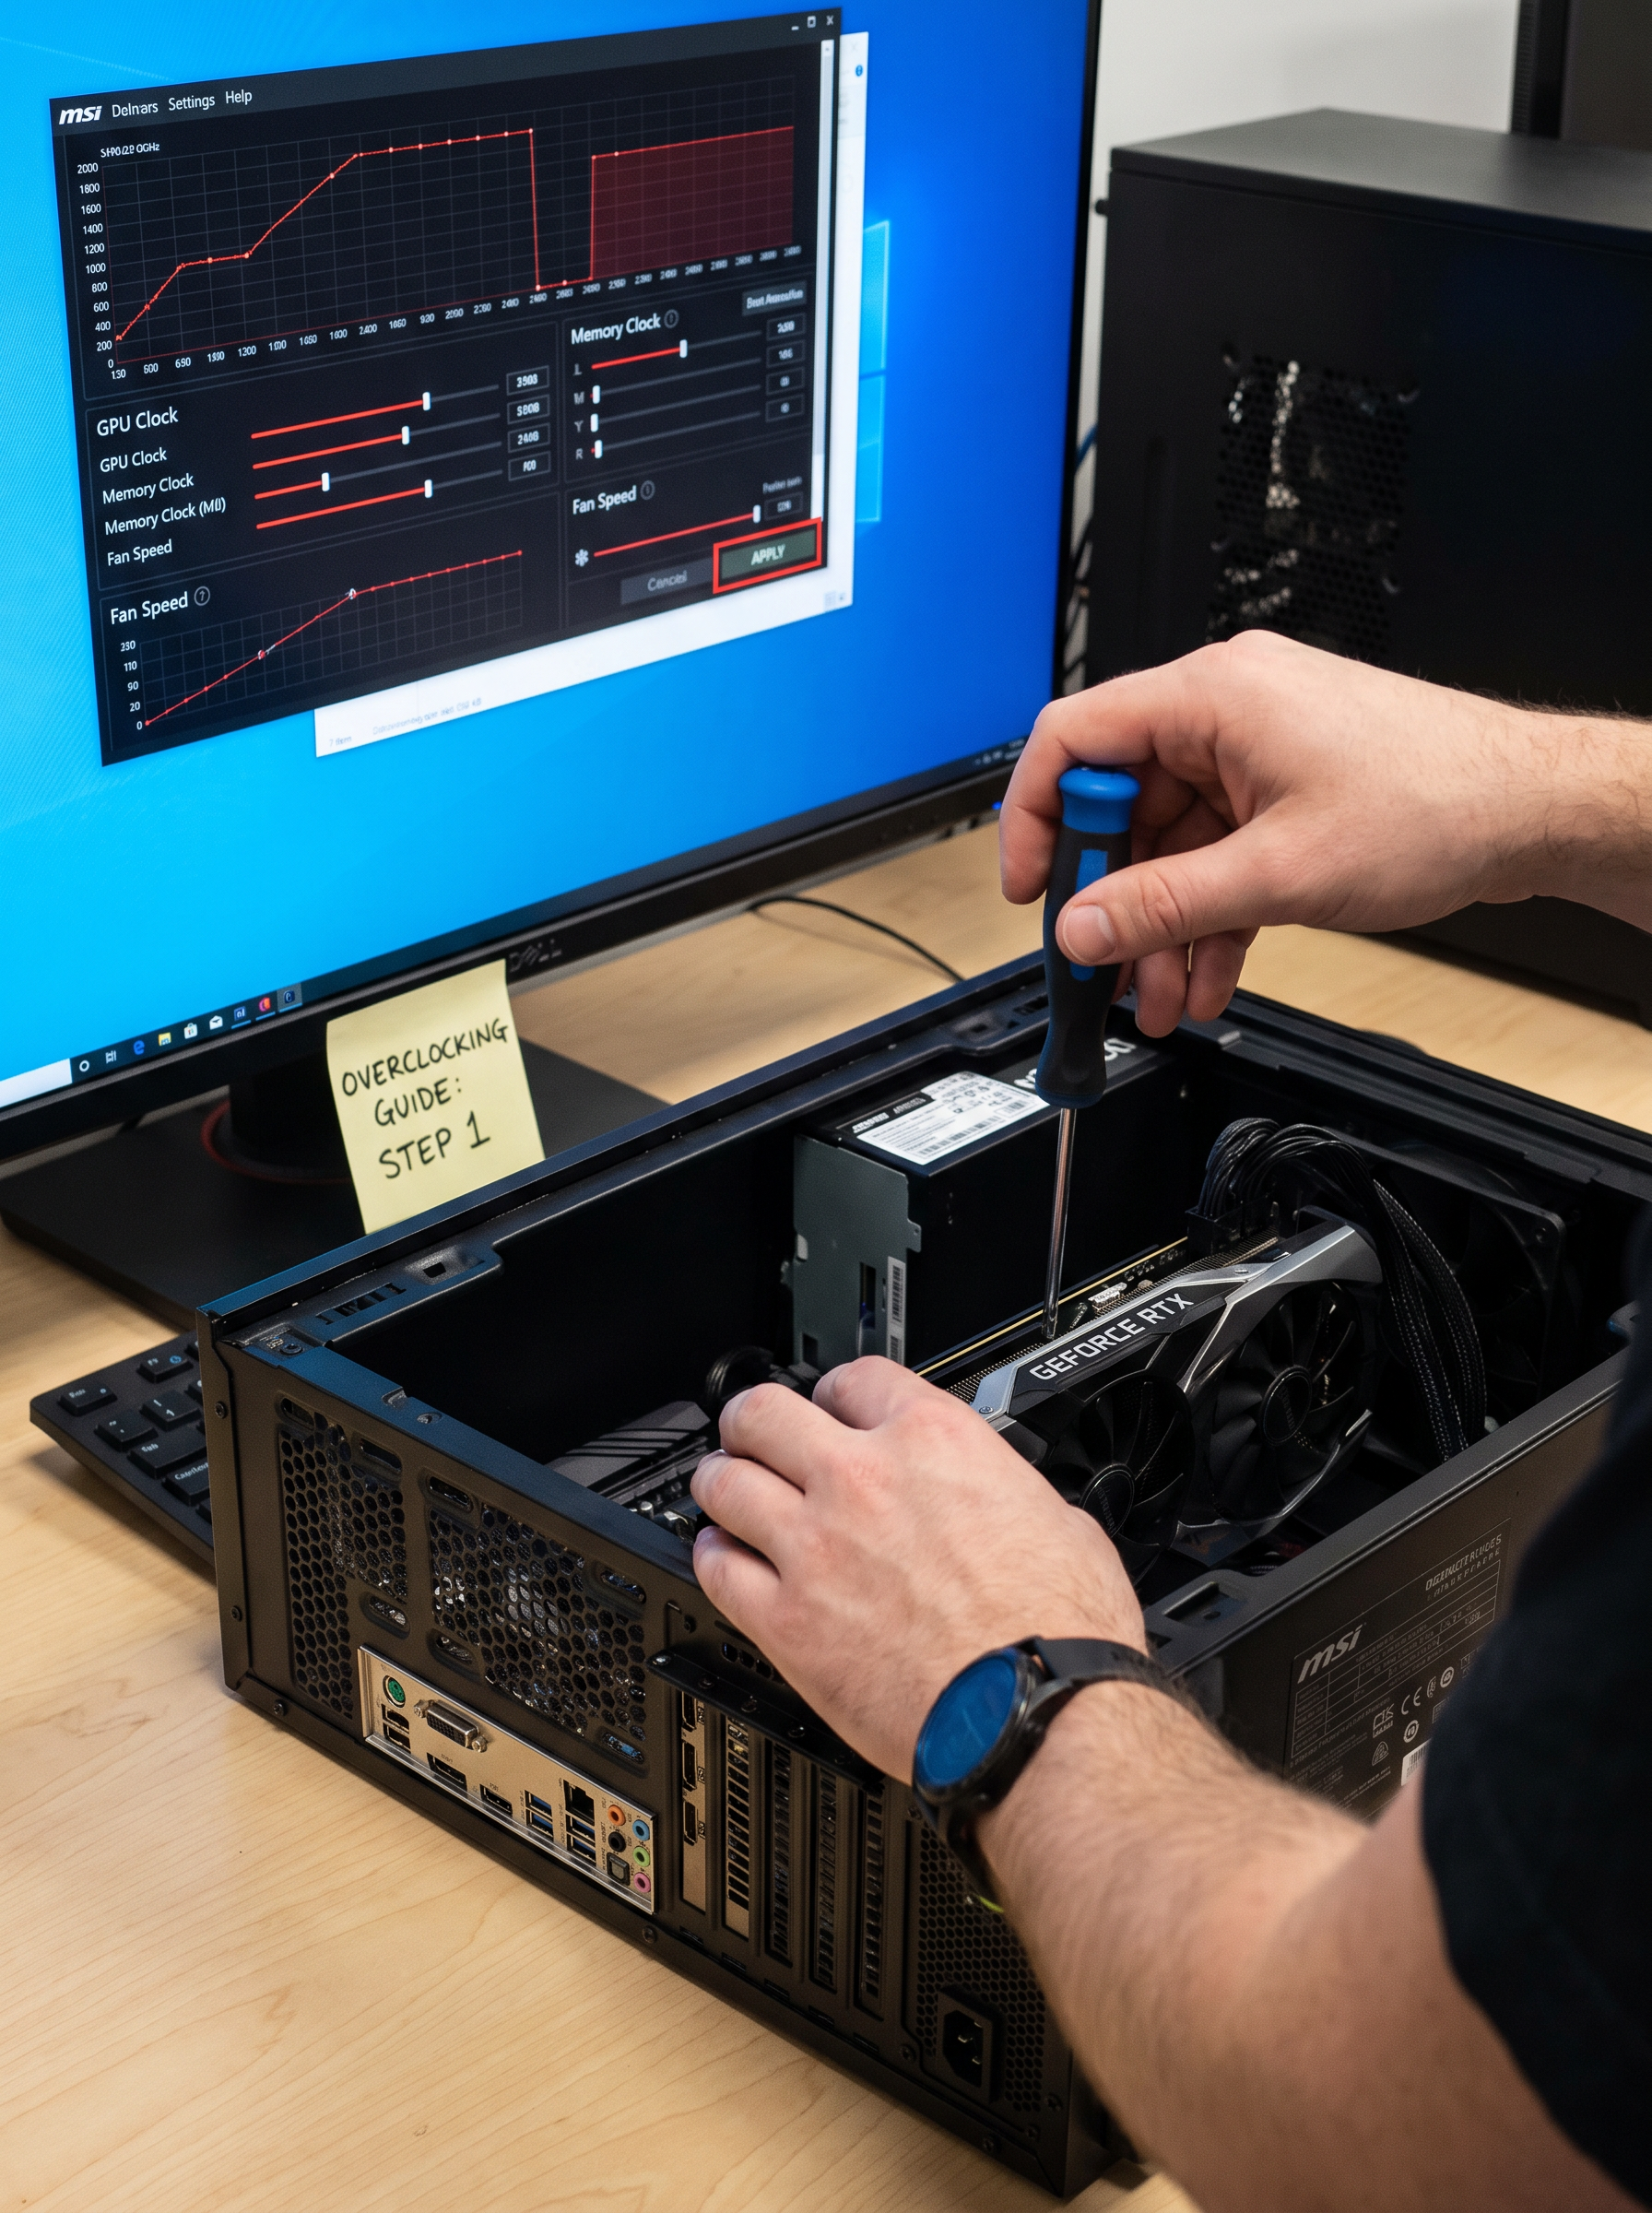
GPU overclocking means raising graphics-card clock speeds above the default boost behaviour to chase extra performance. The safest approach is gradual: establish a baseline, increase one setting in small steps, test stability, watch temperature and power, then stop as soon as errors or diminishing returns appear.
Important: overclocking can increase heat, power use, fan noise and instability. Avoid aggressive voltage changes unless you fully understand the hardware and manufacturer limits.
Best methodSmall changes + repeatable testingWatch closelyTemperature, artefacts, crashes, clocksTest bothCore clock and memory separatelyStop whenErrors appear or gains flatten
Core + memory tuningTest after every stepGPU overclocking guide
Quick answer
Raise clocks slowly, benchmark often and let stability decide the limit
A practical GPU overclock starts with a clean baseline. Increase the core clock in small steps, test, then tune memory separately. If you see visual artefacts, driver resets, crashes or worsening performance, back down to the last stable setting. More clock is not automatically more real performance.
Video walkthrough
Watch the GPU overclocking guide
Use this video for the visual workflow, then keep the written checklist and interactive tools below open while you tune.
Full native controlsStep-by-step workflowTemperature + stability focus
The safe workflow
Overclock your GPU in six controlled stages
The sequence matters more than chasing a magic offset. Keep the process controlled so you always know which change caused a gain or a problem.
1
Record a baseline
Run the same game or benchmark at stock settings. Record score or FPS, temperature, power behaviour and fan noise.
2
Set monitoring first
Keep GPU temperature, clock speed, power and fan behaviour visible while testing.
3
Tune core clock
Increase core frequency in small steps, test after each change and stop when instability appears.
4
Back off from instability
When a crash, driver reset or artefact appears, return to the last stable setting and give it more testing time.
5
Tune memory separately
Reset your focus and adjust memory in small steps. Memory errors can appear as corruption or performance regression.
6
Validate in real games
A benchmark pass is not enough. Test the games and workloads you actually use before calling the overclock stable.
Interactive tuning assistant
What should you do next?
Enter what happened after your latest tuning step. This does not certify stability; it helps you follow a conservative test sequence.
Continue carefully
Your current result looks suitable for another small step, but keep testing and do not assume a short pass proves long-term stability.
Exact safe temperatures vary by GPU and cooler. Use your card's specifications and normal behaviour as the real reference. This gauge is only a visual reminder to avoid tuning by clocks alone.
CoolerWarmerRecheck limits
Performance logging tool
Measure whether the overclock is actually worth keeping
Higher clocks are only useful when the final result is measurably faster and still stable. Enter a stock result and a tuned result to calculate the real gain.
5.0% performance gain
A measurable gain is useful only if the system remains stable and the extra temperature, noise and power are acceptable to you.
Conceptual example only. Real results differ by GPU, cooler, silicon quality, workload and power limits.
Stock
Baseline
Mild OC
Useful gain
Higher OC
Smaller gain
Too far
Instability
Change one group of settings at a time so you can identify what improved performance and what caused instability.
Core vs memory
Tune them separately first
This makes troubleshooting much easier. If you change both at once and the system crashes, you do not know which setting caused it.
Final stability checklist
Do not call it stable after one benchmark pass
Use the checklist as you validate the final tune. The progress ring is only a completion tracker, not a guarantee that the overclock is safe or stable.
Complete GPU overclocking guide
What does GPU overclocking actually change?
GPU overclocking changes the operating targets used by the graphics card, usually by adding an offset to the core clock, memory clock or both. Modern GPUs already boost dynamically, so the real goal is not to force one fixed number. The goal is to give the card more frequency headroom while keeping the workload stable and thermally manageable.
A successful overclock is therefore measured by real benchmark or game improvement, not by the size of the offset shown in software.
What software do you need?
You need a GPU tuning utility that supports your card, a monitoring view for temperatures and clocks, and at least one repeatable benchmark or game scene. The exact software can vary by GPU vendor and board partner. Use a tool you trust and keep your graphics driver current before you start troubleshooting an unstable tune.
Best practiceDo not change several unrelated settings before you have a stock baseline. A clean baseline is what tells you whether the overclock helped.
Step 1: establish a stock baseline
Run the same test you plan to use during tuning with the GPU at default settings. Record average FPS or benchmark score, peak temperature, approximate clock behaviour and any noticeable fan noise. This gives you something real to compare against later.
Use the GPU Benchmarks Hub for broader context, but your own before-and-after test is the important measurement for this specific GPU.
Step 2: understand power and temperature limits
Some tuning utilities expose power and temperature targets. Increasing a power limit can allow the GPU to maintain higher clocks, but it can also raise heat and power consumption. Do not assume maximum power is automatically the correct setting.
Cooling quality, case airflow and ambient room temperature all influence the result. If you are not already watching temperatures during gaming, use the GPU temperature monitoring guide first.
Step 3: increase core clock in small steps
Start with a small core-clock increase, apply it and rerun the same short test. If the test is stable and performance improves, repeat with another small increase. Keep the change size conservative enough that you can identify the point where instability starts.
When the system crashes, the driver resets, the screen shows artefacts or performance unexpectedly falls, move back toward the last known stable setting rather than pushing further.
Step 4: tune memory separately
Once you have a reasonable core setting, test memory independently. GPU memory instability may look different from core instability: texture corruption, flashing pixels, visual artefacts or performance regression can all be warning signs.
More memory frequency is not automatically better if error correction or instability reduces real performance. Compare the same benchmark result after each change.
Step 5: combine the stable core and memory settings
A core setting that is stable by itself and a memory setting that is stable by itself still need to be tested together. Combined power and thermal behaviour can change the result. Run the same benchmark again, then move to longer real-world testing.
Step 6: stress test the final overclock
Use more than one workload. A synthetic benchmark is useful because it is repeatable, but it cannot represent every game engine. Test several demanding games you actually play, and include longer sessions so heat soak has time to develop.
Watch for crashes, black screens, driver restarts, flickering, texture corruption, stutters that were not present before and worse benchmark consistency.
What temperature should an overclocked GPU run at?
There is no single universal temperature limit for every GPU. Different models have different thermal targets, hotspot behaviour, cooler designs and firmware. Use the card manufacturer's specifications plus your own stock behaviour as the reference.
The key comparison is whether the overclock produces a useful performance gain without pushing the card into unwanted noise, throttling or thermal behaviour. If temperatures rise sharply for very little performance, the extra clock is probably not worth keeping.
Should beginners increase GPU voltage?
Voltage is a more advanced tuning variable because extra voltage can sharply increase power and heat. For a beginner-friendly overclock, it is smarter to first explore the stable range available within normal software limits. If you do not understand the card's voltage controls and thermal response, leave voltage alone.
What do GPU overclocking artefacts look like?
Artefacts can include flashing pixels, coloured blocks, corrupted textures, unusual lines or geometry errors. They are a sign to stop increasing the current setting and return to a known stable point. A driver reset or application crash is also a stability failure even if the screen looked normal.
Why can a higher overclock perform worse?
Higher settings can create more heat, power-limit behaviour, clock instability or memory errors. The result can be lower sustained clocks or worse frame consistency. That is why every tuning step needs a measured result rather than an assumption.
Overclocking vs undervolting
Overclocking targets more performance, while undervolting targets lower voltage for a given performance level. They are not opposites in every practical setup because some users tune a voltage-frequency curve to improve efficiency while preserving strong boost clocks.
If heat and noise are the main problem, an efficiency-focused tune may be more useful than chasing a larger clock offset.
Can you overclock a laptop GPU?
Laptops have tighter thermal and power limits than desktop graphics cards, and many systems restrict tuning controls. Even when a utility exposes settings, cooling headroom can be limited. Treat laptop GPU tuning far more conservatively and prioritise stable temperatures.
Warranty terms can vary by GPU manufacturer, board partner and the type of modification involved. Software tuning, voltage modification, firmware changes and physical modification are not necessarily treated the same way. Check the exact warranty terms for your card before making changes you are unsure about.
Update the GPU driver and close unnecessary background tasks.
Record stock benchmark performance and peak temperature.
Open reliable clock, temperature and power monitoring.
Increase core frequency in a small step.
Run the same benchmark and inspect the result.
Continue only while performance improves and the card remains stable.
Back down when crashes, artefacts or driver resets appear.
Tune memory separately using the same method.
Combine the stable settings and retest.
Validate the final tune across several real games and longer sessions.
Final verdict
The best GPU overclock is not the largest number you can apply. It is the fastest setting that remains repeatably stable, thermally reasonable and measurably better in the games or workloads you use.
Work slowly, change one variable at a time, keep a stock baseline and stop when the extra clock stops delivering useful real-world gains.
GPU overclocking questions
Frequently asked questions
Is GPU overclocking safe?
Moderate software overclocking can be relatively low risk when you stay within normal tool limits, monitor temperature and back down at the first sign of instability. Heat, power draw and instability can still increase, so tune conservatively.
How much should I overclock my GPU?
There is no universal safe offset because every GPU, cooler and chip sample behaves differently. Increase clocks in small steps and let repeatable stability testing determine your limit.
Should I overclock core or memory first?
Tune one at a time. Core first is a simple workflow because you can establish a stable core range before testing memory separately. Combine them only after both have been tested on their own.
Can overclocking damage a GPU?
Aggressive voltage, excessive heat, firmware modification or operating outside intended limits can increase risk. A beginner-friendly approach should avoid aggressive voltage changes and prioritise stable temperatures and manufacturer limits.
Why did my GPU crash after overclocking?
The core or memory setting may be unstable for that workload, or heat and power behaviour may have changed. Return to the last stable setting and retest.
Why do I see artefacts after increasing memory clock?
Visual corruption can indicate memory instability. Reduce the memory offset and retest rather than assuming the card only needs more power.
Does overclocking always increase FPS?
No. If the GPU becomes hotter, hits power limits or generates errors, a larger offset can produce little gain or even worse performance. Measure before and after.
Is undervolting better than overclocking?
It depends on your goal. Overclocking targets more performance, while undervolting mainly targets efficiency, heat and noise. Some GPUs respond very well to efficiency-focused tuning.
Next useful guide
Overclocking only works when you can see what the GPU is doing
Use the temperature-monitoring guide to track load temperature, hotspots, fan behaviour and thermal changes before you keep a final tune.